Overview
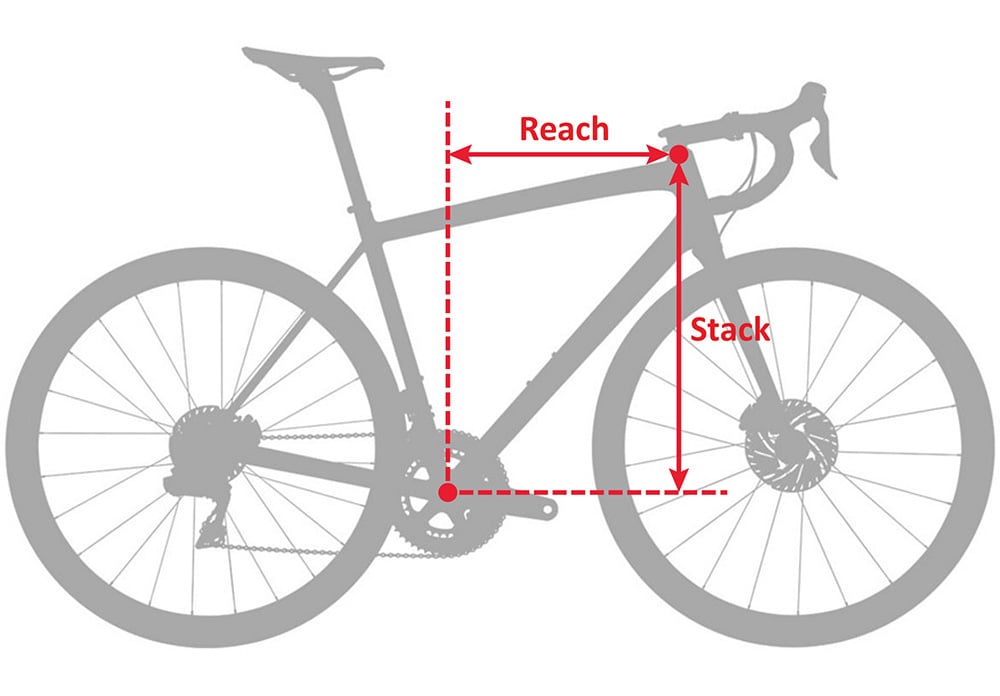
Stack and reach measurements are found on modern bicycle frame geometry charts. These measurements were first conceived in the early 2000’s and later adopted by Cervelo and Trek. Over time, all major frame manufacturers have adopted stack and reach measurements into their frame geometry charts.
Stack and reach measurements were introduced to provide an accurate correlation between the location of the bottom bracket and the top of the head tube on a bicycle frame. This information is extremely useful when comparing different bicycle frames for fit. Prior to the inclusion of stack and reach measurements on geometry charts, comparing frames was a far more complicated affair as you had to consider the length and angle of the tubes.
The Basics of Your Riding Position
Before we delve into how to use stack and reach measurements. We need to quickly cover the 2 most crucial elements of your riding position on a bike. They are;
1. Saddle position.
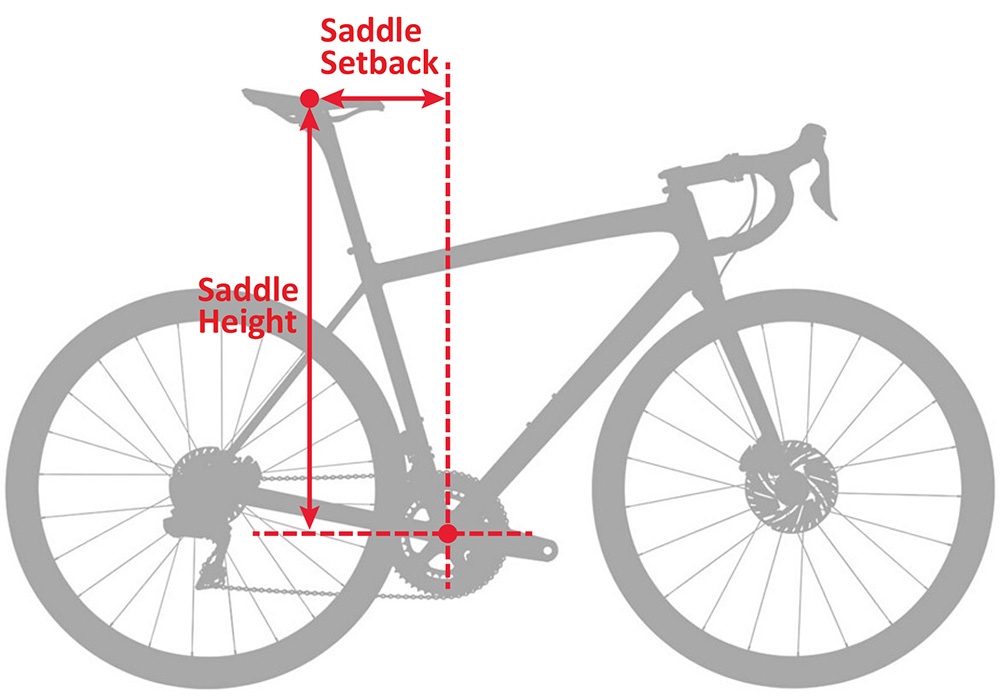
This is where your saddle is located in relation to the bottom bracket (cranks). Before buying any bike, you need to make sure you can position your saddle in the correct location. Saddle position is fairly specific and is not really going to change much over time. Move the saddle too far out of your sweet spot and it will have a negative impact on your pedalling. Most importantly, you don’t want to be moving your saddle forward or backward to provide a better reach to the handle bars.
2. Handle bar position.
This is the location of your handle bars in relation to your saddle. You need to be able to comfortably reach the handle bars (with bent elbows) whilst seated in the optimal position of your saddle.

How Stack and Reach Measurements Help With Bike Fit
Stack and reach measurements help you determine where your handle bars can be positioned on any frame relative to the bottom bracket, but they do NOT provide you with an exact way to determine your saddle location on the frame.
To determine this, you need to compare the seat tube angle and seat post offset between frames. Seat tube angle is documented on bicycle frame geometry charts, but the seat post offset is rarely mentioned. Typically if the offset of a seat post supplied with a bike doesn’t suit you, you can swap the seat post with a different one, but more bicycle frame manufacturers are building frames that will only fit their specific seat post, which may not be available in a variety of offsets.
How to Use Stack and Reach Measurements
Stack and reach measurements are a great way to compare different bike frames, but they are not much use to you without a point of reference. This means you need to know the stack and reach measurements of a bike frame that preferably fits you well. Once you have the measurements of this frame, you can compare the measurements of other frames to determine both the correct size frame and what component modifications may be required to ensure you achieve a similar fit to your existing bike. The changes that may be required are;
- Height of spacer stack under your stem.
- Stem length and angle.
- Handle bar reach and drop.
You can also use stack and reach measurements to find a bike frame that offers a different handle bar position compared with your existing bike. You may want the new bike to have more/less reach to the handle bars. You may want the handle bars to be lower/higher. Stack and reach measurements allow you to quickly identify these variations across different frames.
Limits of Stack and Reach Comparisons
Stack and reach measurements don’t directly provide you with information regarding the location of your saddle on a bike, but if the angle of the seat tube is similar between both frames, it should be possible to replicate the saddle position on the new bike. For this reason stack and reach frame comparison works best when comparing frames designed for the same application ie. comparing road bike frames with road bike frames, mountain bike frames with mountain bike frames etc.
It is always best to actually test the bike before buying it to ensure that the fit is correct. Stack and reach comparison should be used as a guide as there are many other components on a bike that affect the overall fit.
Stack and Reach Frame Comparison Example
In this example, I am going to use stack and reach measurements to compare 2 different road bike frames to determine which frame size would be the best fit and what differences we can see in the setup. In this example I will be comparing my 2014 Cervelo R5 with a 2021 Pinarello Dogma F.
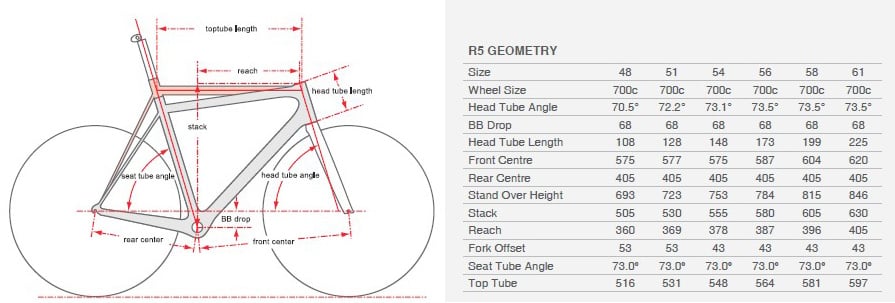
My 2014 Cervelo R5 is a size 56 frame. The first step was to find the correct geometry chart for this frame which you can see above. Looking at the above geometry chart, the stack and reach measurements for a size 56 frame is stack: 580mm, reach: 387mm. In addition, I have noted the seat tube angle is 73 degrees and the head tube angle is 73.5 degrees. The other specifics of my bike setup are;
- Stem length 120mm (-8 degree)
- Spacer stack of 10mm under the stem.
- Seat post offset of 25mm.
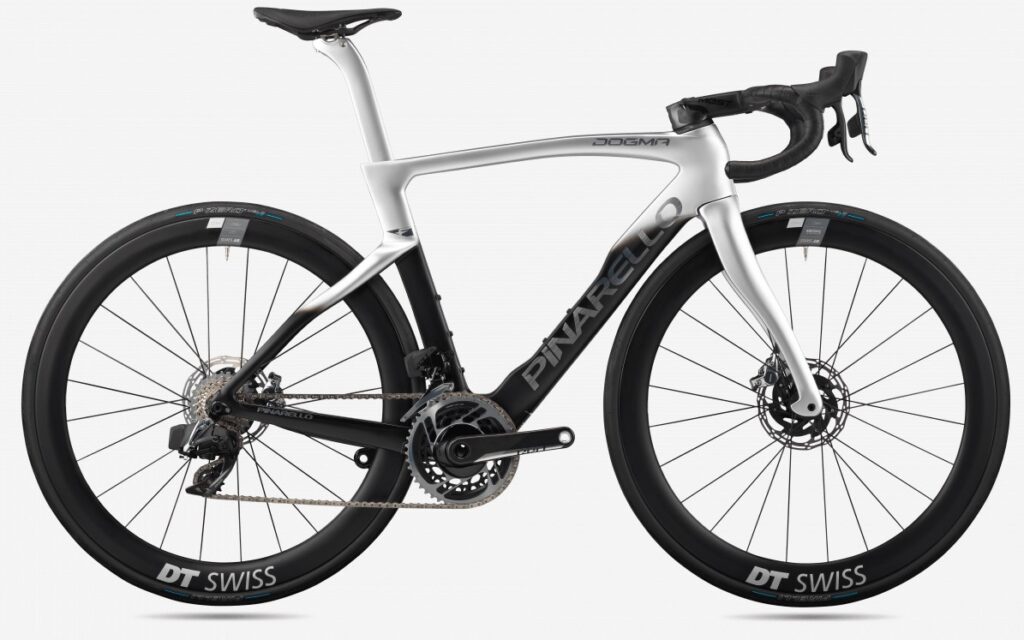
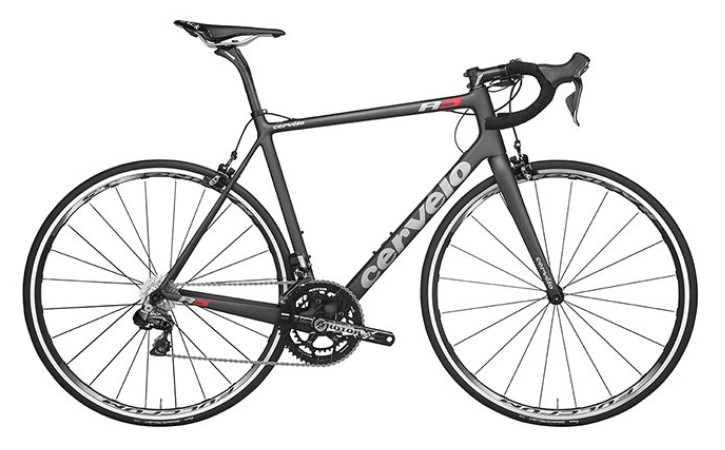
The second step was to find the frame geometry chart for the Dogma F on Pinarello’s website. Then I compared the stack and reach measurements of the Cervelo against the measurements of the various Dogma F frames. I found the size 506 frame size was the closest match. I then noted the measurements for each frame in the table below for analysis.
Frame Geometry Specifications Table (in mm)
Frame | Frame Size | Frame Stack | Frame Reach | Head Tube Angle | Seat Tube Angle |
|---|---|---|---|---|---|
| R5 (2014) | 56 | 580 | 387 | 73.5 | 73 |
| Dogma F | 560 | 570.2 | 390.7 | 73.2 | 73 |
Note: Pinarello’s geometry chart doesn’t seem to make a clear mention of frame sizes, but apparently I read online that they size their frames using the centre-to-centre measurement of the seat tube. This measurement is 560 mm which for the frame I have selected. Typically bike manufacturers size their frames using the effective top tube length, rather than the seat tube length. The effective top tube length of my Cervelo is 565 mm and they don’t mention the length of the seat tube in the 2014 R5 geometry chart.
Frame comparison:
The Dogma F has a shorter stack by 9.8 mm and a slightly longer reach of 3.7 mm, so I would need to make some changes to the stem and spacers on the Dogma F to match my handle bar position on the Cervelo.
If I used the same stem on both bikes with no spacers fitted under the stem, the Pinarello Dogma F would place your handle bars almost 9.8mm lower and 3.7mm further away from the saddle. Note: there would be a minor variation due to the difference in the angle of the head tubes (73.5 vs 73.2 deg) and the stem being fitted above the point of stack/reach measurement.
The Dogma F frame is considered a more aggressive riding position designed to improve your aerodynamics. That is all good and well, but you also must have the flexibility and strength to be able to ride in that position comfortably without losing any power. If I were to buy this bike, I would need to make the required changes so the handle bars were in the SAME position as they are on the Cervelo R5.
- I would need to increase the spacer stack by 10 mm (from 10 mm to 20 mm) on the Dogma F. This places the handle bars at a similar height to my R5.
- The extra 3.7 mm of reach would nearly be cancelled out having to add 10 mm of extra spacers. Due to the angle of the head tube, adding spacers effectively shortens the reach to the handle bars just a little.
- The seat tube angle of the Dogma F is IDENTICAL to the Cervelo, so there should be no problem setting up my saddle position. I would just need to consider the offset of the seat post supplied with the frame. This seat post is specific to the frame, so if the offset were different to my current offset of 25 mm, I would need to investigate my saddle position further.
Bike Comparison Summary:
The size 560 Dogma F frame could be easily setup to match my position on the Cervelo by fitting 20 mm of spacers and using a stem with similiar specifications (120mm, -8 deg.) as the Cervelo. A surprisingly simple change. Should my flexibility improve, I would be able to remove some spacers for an even more aerodynamic position. Alternatively I could also add another 10mm of spacers and shorten the stem if I wanted a more upright position in the future. In general, I wouldn’t recommend buying a frame that required you to fit more than 30mm of spacers.
Learn More About Comparing Bike Frames
You can learn more about stack and reach frame comparison in my article comparing bike frames using stack and reach measurements. It features a detailed comparison of these 6 amazing road bikes;
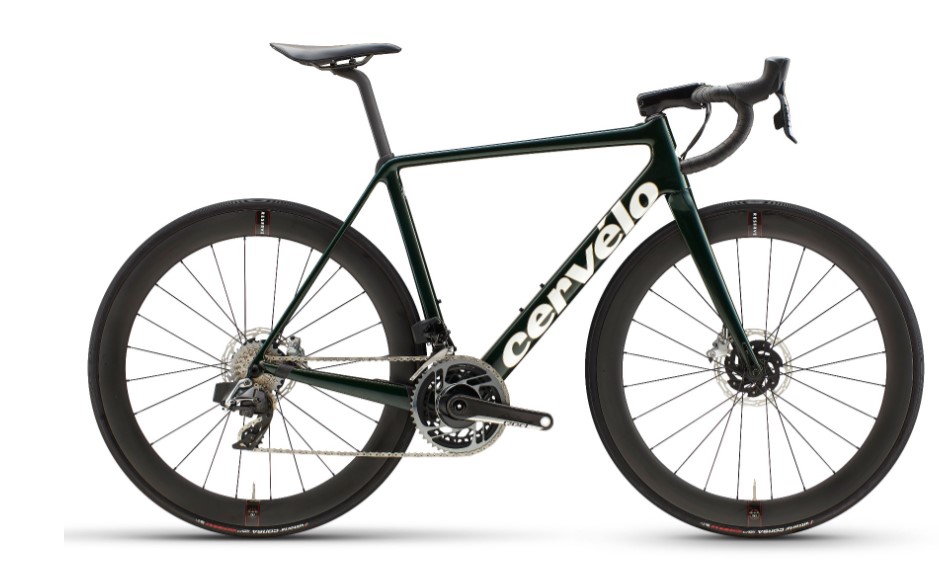
- Cervelo R5 (2020)
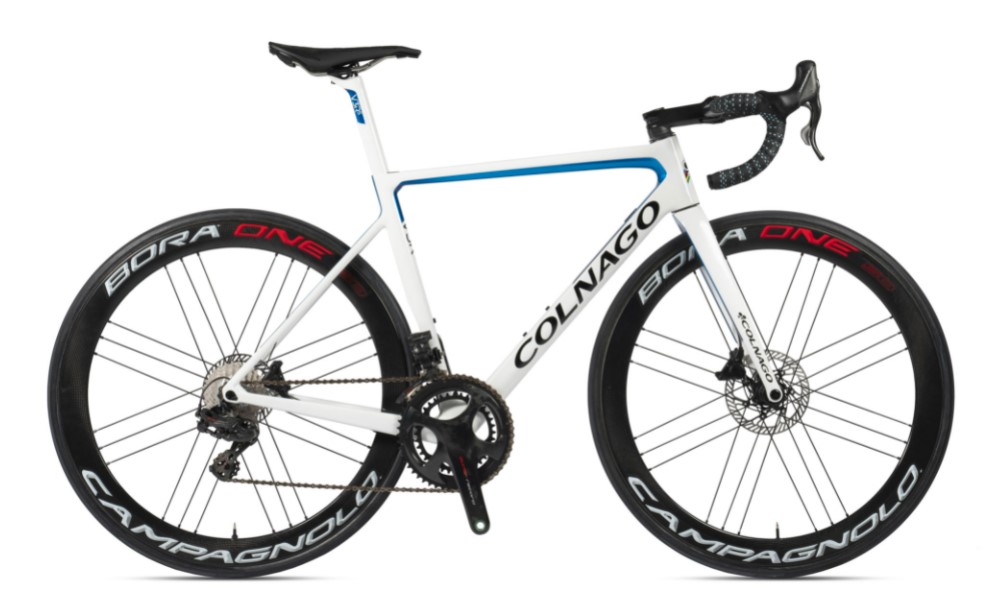
- Colnago V3RS
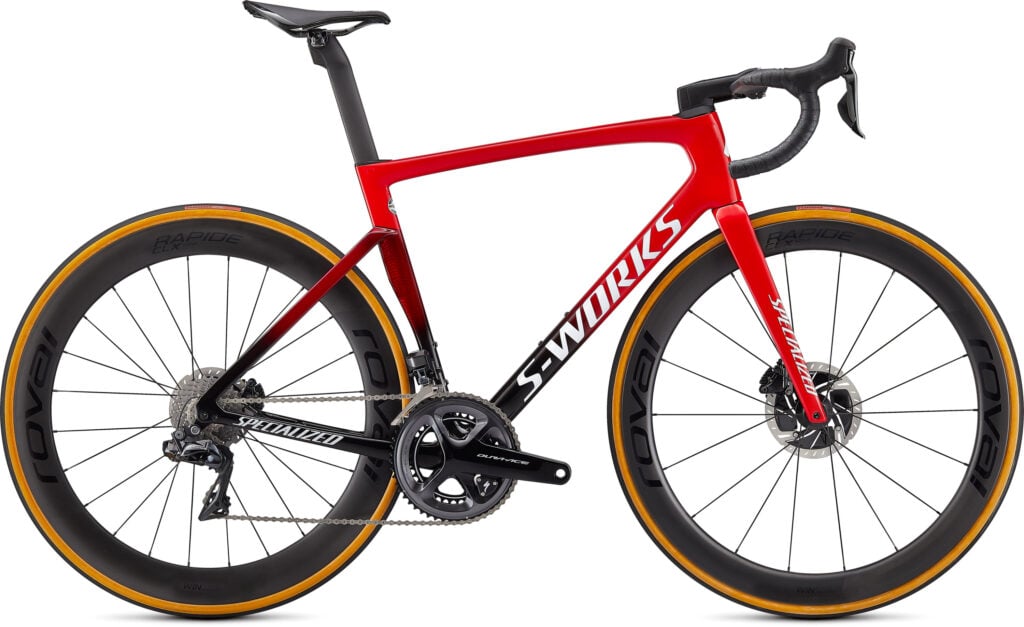
- Specialized Tarmac SL7
- Pinarello Dogma F
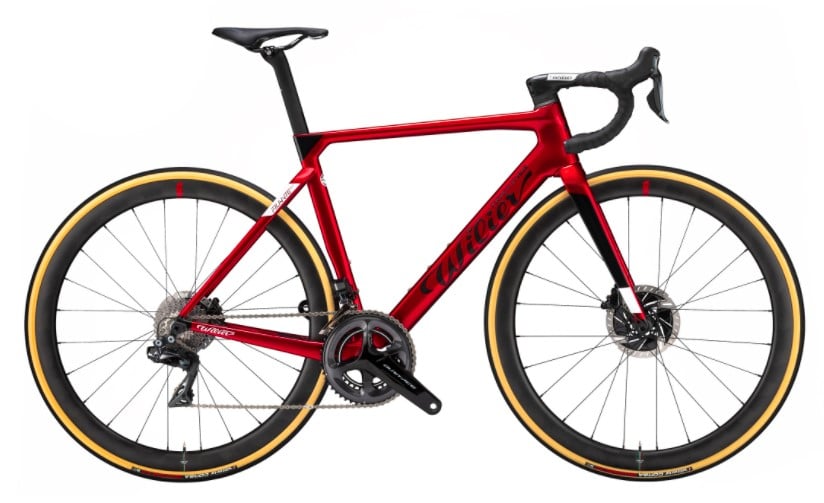
- Wilier Filante
- Bianchi Specilissima
The article also includes additional information such as;
- How other components on the bike affect the fit of the bike.
- The pro’s and con’s of fitting spacers under a stem.
- How spacers effect both stack and reach for the handle bars.
- How does an endurance style road bike compare with a pro level race bike.
- Links to websites including a frame geometry database and frame measuring tool.
About Me.
I have been riding and working on my own bikes for many years now. I wanted to share my experiences, knowledge and research with others. My aim is to inspire people to get involved in all aspects of this amazing sport. Cheers.
Comments.
I welcome reader feedback in the comments section. Should you wish to suggest an amendment, please include a note advising the source of your information so that myself and other readers can ascertain the accuracy of your information. Note: Trolling or argumentative comments will be removed as they are counter-productive.
