
Welcome to part 7 of my Colnago Nuovo Mexico restoration. In the previous parts I have discussed the following parts of this restoration;
- Part 1 – Frame selection and remove paint to raw steel frame.
- Part 2 – Paint colour and decal selection process.
- Part 3 – Choosing the Campagnolo components.
- Part 4 – Wheel build, freewheel and chain selection.
- Part 5 – Choosing the finishing kit
- Part 6 – Fit Headset, Bottom Bracket, Bars, Stem, Levers & Brakes
- Part 7 – Fit Shift Levers, Freewheel, Crankset, Derailleurs & Pedals
Test Ride – The Big Day has Arrived.
Now that the bike has been built, all that remains is a quick test ride before I finish the build by wrapping the bars with bar tape. I always ride the bike before wrapping the bars just in case the brake levers need to be repositioned for some reason.
It’s always a weird feeling riding a bike you have just built on it’s first ride. In the back of your mind you’re thinking will the wheels be OK, is the frame solid (will it collapse under me), did I forget to tighten a bolt somewhere? So I always start in a quiet side street and ride at a slow pace until your confidence grows. Yes, the brakes and steering work, the wheels and frame are just fine. All those original fears were unfounded, the bike is solid as a rock.
Then you start shifting of the gears. It’s fairly typical some adjustments will be required; tension the shift levers and adjusting the derailleur limit screws, but within a short period, the bike is cruising the streets with smooth gear shifts and a nice quiet ride EXCEPT the front brake that squeals when you stop.
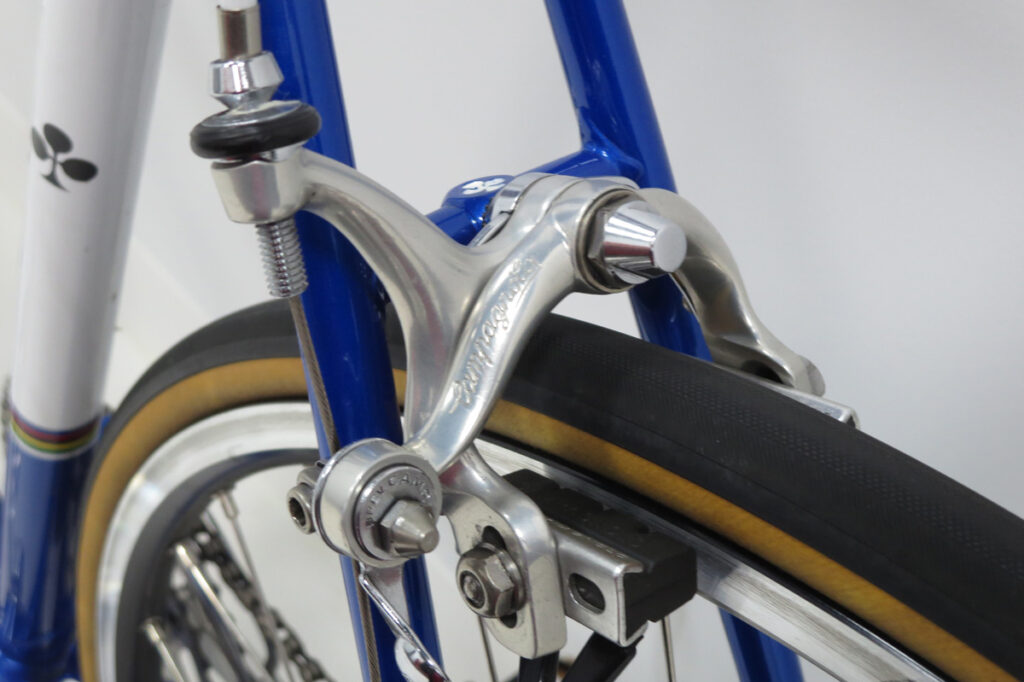
This is a common problem and I had the exact same issue with the Campagnolo Super Record brakes on my previous Colnago build. This bike has new brake pads and rims, but the brake pads definitely need some toe-in to stop the squeal. Please check my article how to fix brake squeal on a vintage bike. The method used for this situation was to bend the caliper arms using adjustable spanners to create the 2-3mm of toe-in required to stop the squeal. I added the toe-in very gradually and test rode a few times in between until I reached the right amount.
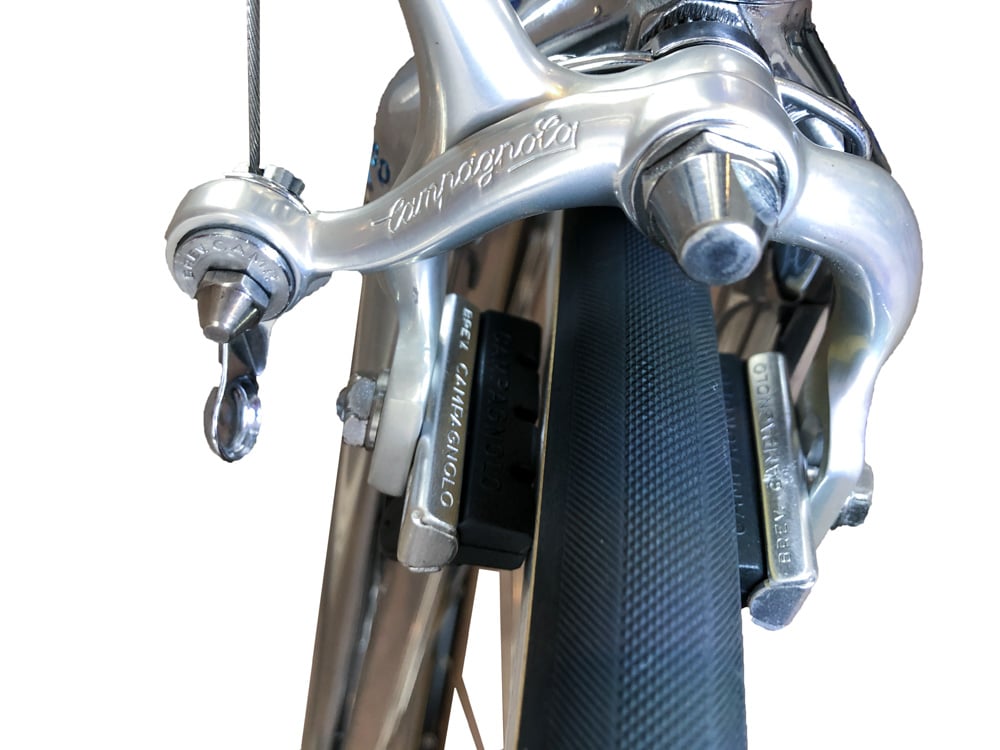
It is a little tricky to see in this image, but the front of the pad is touching the rim on both sides and the rear of the pad has a 2 to 3mm gap from the rim. It is also important to make sure that the brake shoes are reinstalled in the calipers in the correct orientation so the pads do not get ejected under heavy braking. The whole process took about 1 hour (taking my time) and I suspect it is only required to be done once. Definitely time well spent.
The lever and saddle position all felt good, so last step is to wrap the bars with bar tape.
Wrap the Bar Tape
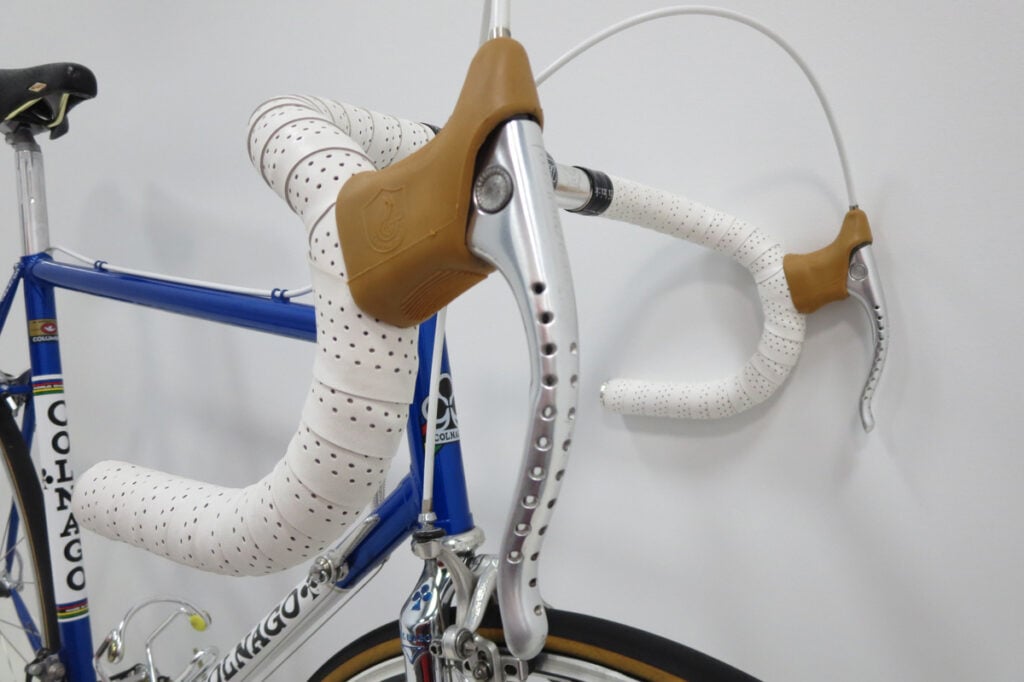
Having test ridden the bike and happy with the location of the brake levers on the handle bars, it was time to complete the bike by wrapping the handle bars with some white bar tape. I’m using Fizik Classic Touch Superlight 2mm bar tape which is not vintage but has a classic perforated leather look with a hard wearing exterior.
I’ve used Fizik Superlight 2mm bar tape on a number of different bikes. It is not super stretchy so it is a bit harder to apply than the materials used in other types of wraps like cork. Always give the bars a good clean to remove any old residue before starting.
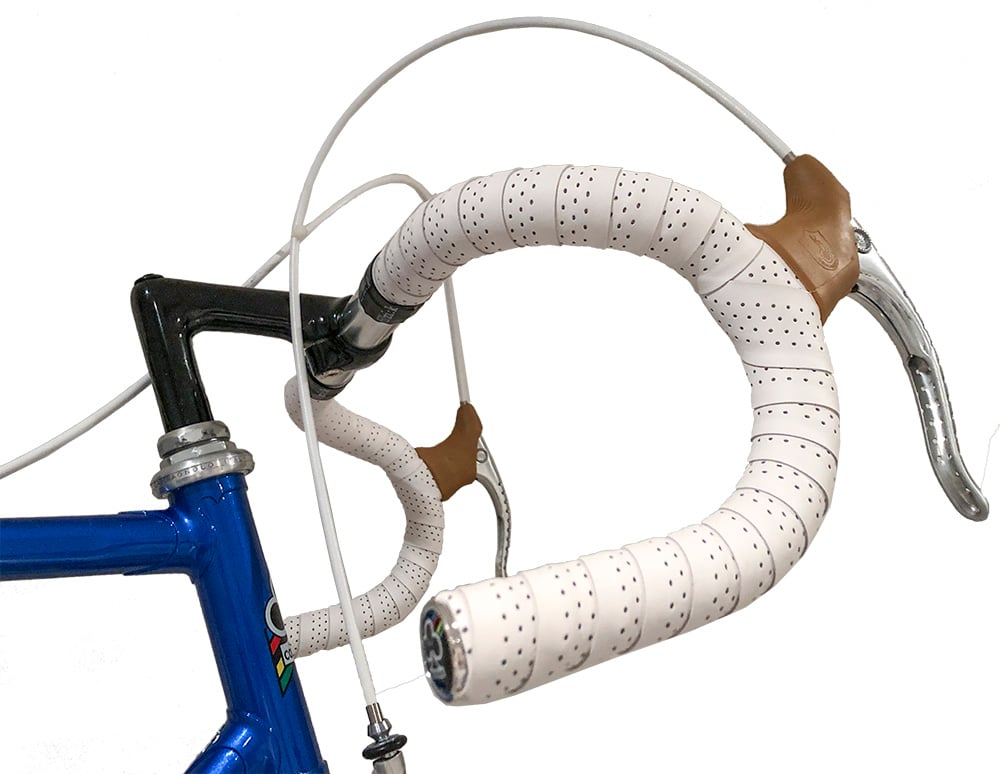
I’m not going into the detail of how to wrap handle bar tape as there is plenty of pages on the internet discussing the many different methods that can be used. I only apply handle bar tape once every year or so, so I don’t consider myself an expert and I think it is a bit of an art form. Trying to get a professional even finish requires some patience and practice. I basically re-wrapped sections of each side multiple times until I achieved a finish I was happy with. Wrapping the second side is always quicker than the first as you know what to expect.
When using a white bar tape, it pays to do your homework by reading reviews about the ease of keeping it looking white. My research uncovered this bar tape which can be kept white with a regular wipe down and some care. Here are a few tips;
- Put a towel over the handle bars when working on the bike so you don’t touch the bars with greasy hands. As vintage gear levers are not integrated into the brake levers like modern bikes, there is little need to touch the handle bars when working on a vintage bike.
- Don’t use brand new cycling gloves (with black dyed palms) on white bar tape. I made this mistake previously and the dye from the gloves stained the white bar tape and cleaning the tape did not return it to the original white finish.
- Start each ride with clean hands and regularly wipe the bar tape with baby wipes or isopropyl alcohol.
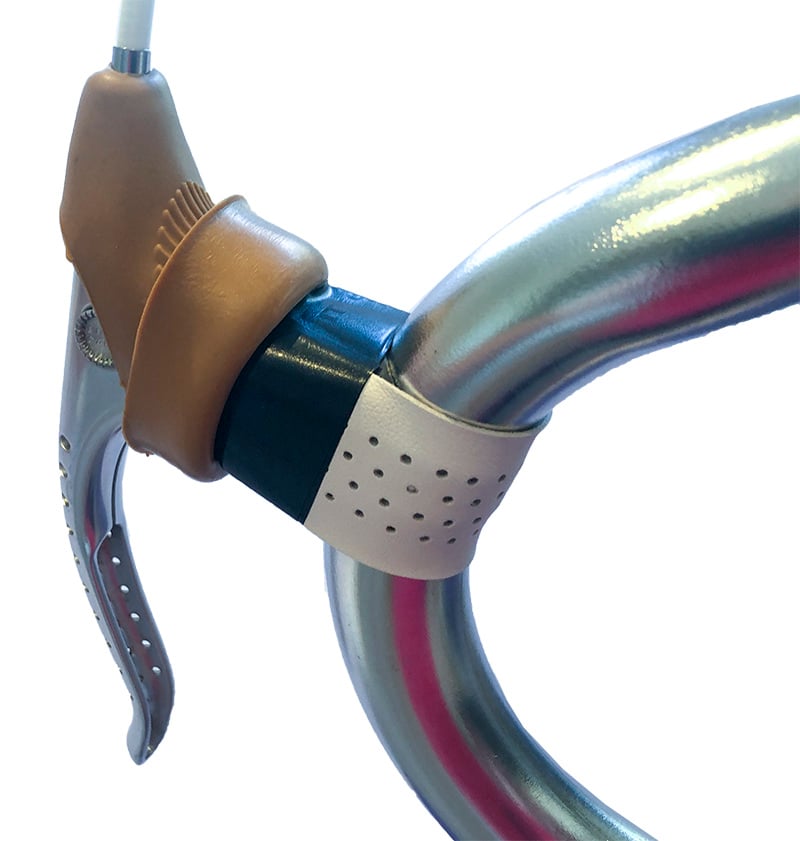
The Fizik bar tape comes with short pieces to cover the brake lever clamps. I fitted this piece to the rear of each lever and used a wrap of black electrical tape to keep it in place (step 1). I then wrapped the tape in an inward direction and finished off the tape with another wrap of black electrical tape (step 2) before covering with the Fizik finishing tape (not shown). Lastly I fitted an aftermarket Colnago bar plug (step 3).
My only gripe with this bar tape is it is not perforated the full length of the tape. About 8cm at either end is plan white bar tape with no perforations. This effectively shortens the bar tape by some 16cm, so you need to get the spacing just right if you want the perforations showing from start to finish on the bars.
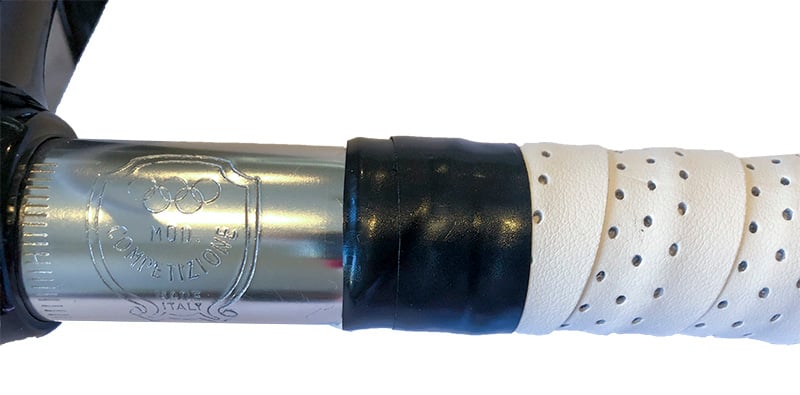
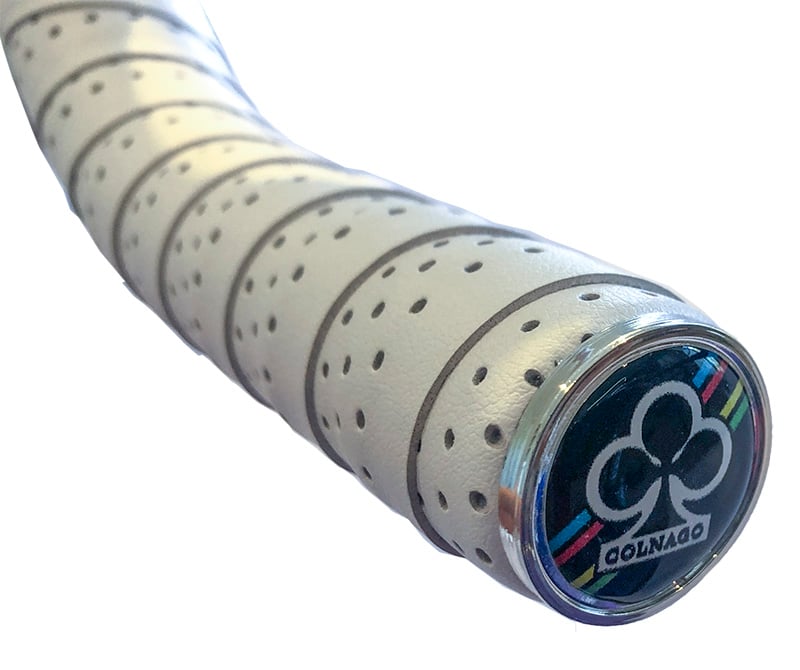
Note: The internal diameter of vintage bars is smaller than modern bars. Therefore the Fizik bar plugs are too wide to fit inside without some kind of modification. The solution is to buy a set of aftermarket bar plugs on eBay which are available in a wide variety of styles and add a nice detail to the handle bars. I chose these Colnago branded bar plugs which are available in a variety of colors. They are easy to fit and secure the bar tape very nicely. I expect they could be re-used when changing tapes if required.
Fit the Biddon Cage
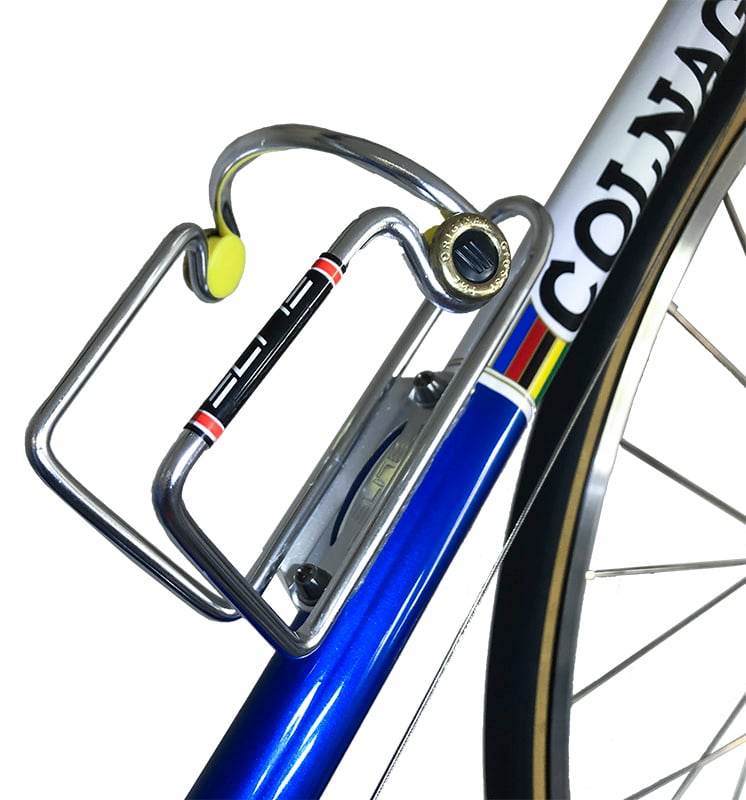
The last item to be fitted to the bike is the Elite Ciussi bottle cage. This is the alloy model with 2 x yellow and gold trimmed buttons to hold the biddon firmly in place. Elite sell a variety of these style of cages. My Colnago Master is fitted with the Inox steel version. I think the cage suits the build nicely with the colours matching the Colnago decal.
These vintage Colnago frames only have one biddon cage mount, so you’ll need to refill your bottle on longer rides. Not a problem if you have a team car on your ride.
First Ride on a Colnago Nuovo Mexico
The bike feels great to ride. It is really smooth and comfortable as you would expect from a steel frame and high thread count Veloflex tyres. The bottom bracket and drive train is buttery smooth. The Colnago 1980’s road geometry is stable and predictable. Turn up the watts and it’s speed will surprise you (and others) on flat terrain. A 1980’s superbike certainly stands out from the carbon crowd. Learn more in my modern vs retro bike comparison.
One of the things you instantly notice going from a carbon bike with deep carbon rims to this bike is the serenity. No whooshing rims, no buzzing freehub (when coasting), no cross winds tugging at the front wheel. This bike is super stealthy and super smooth… with the exception of one little squeak..
Searching for the Elusive Squeak
As I already have built a Colnago steel bike, I know how quiet it should be on the road when everything is perfect. It wasn’t long into my first proper ride on this bike I detected a small infrequent squeak. Subtle, but noticeable.
After riding bikes for many years now, I have pretty much heard every kind of noise from a bike and usually I can determine the source of the noise fairly quickly, but this issue was definately more challenging. I was determined to find the exact source of the noise and the only way to that accurately is to adjust one thing, then test ride the bike to be sure the noise is gone. In this case, it proved quite time consuming. The noise was really only noticeable when riding at 35 to 40 kph. I was fairly sure it was caused by pedaling, but wasn’t 100% certain. Here is a list of everything I tried – none of them were the cause of the noise.
- I tried re-greasing and re-tensioning the saddle clamp bolt and seat post bolt. I even greased the underside of the saddle rail where it contacted the saddle as there was a bit of noise when I pressed on it with my hand.
- Tried a different set of pedals and even a different set of shoes (in case it was the cleats).
- Check the chain for any squeaky links (particularly the quick link) and add more oil.
- Check the jockey wheels and pivot points of the rear derailleur.
- Swap the rear wheel to see if the noise was coming from the rear hub or freewheel.
- Swap the front wheel as well.
- Double check the headset, stem, handle bars and brake levers for any noises under pressure.
- Check the wheels were not rubbing on the brake pads.
- Check the biddon cage was secure and rode without a bottle.
After all those tests failed to solve the problem, I decided to remove, re-grease and re-attached the cranks. After a short test ride, finally the noise was gone!
This left me a bit perplexed as the cranks were originally assembled the exact same way when I built the bike up from parts. Regardless, I was happy the noise was gone. I then refitted the dust caps into the cranks and took the bike out one for a final test. Well the noise had returned! I had found the culprit.
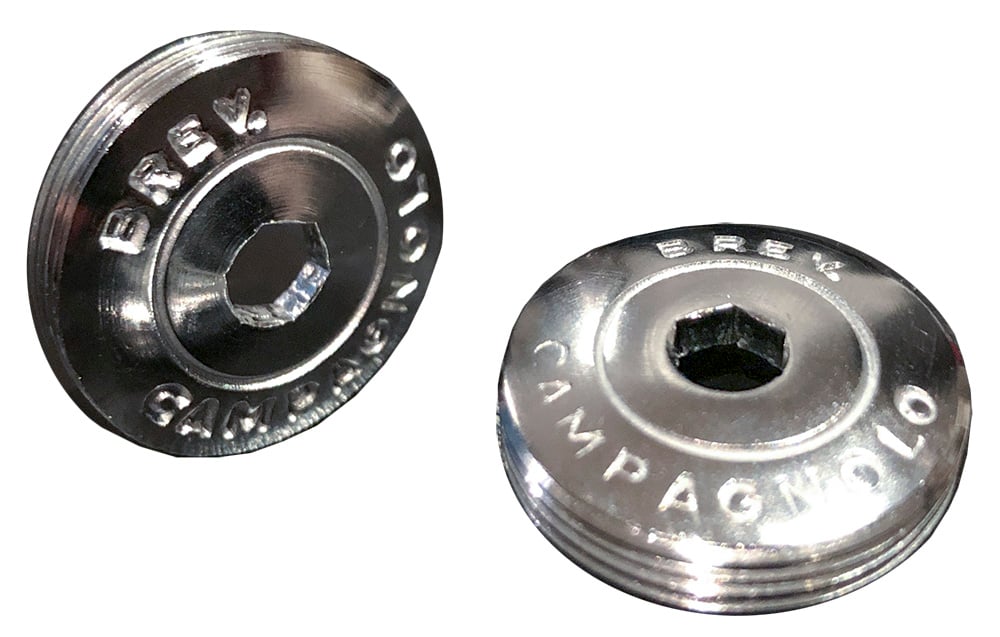
After a little more testing I discovered the specific dust cap that was causing the noise. I recalled when I originally built the bike, this dust cap would not screw in fully flush with the crank arm. It was protruding by about 1 mm, so obviously the thread was faulty.
It didn’t matter which crank arm I fitted it to, the squeak would return. I even tried adding grease on the inside of the cap in cause it was rubbing on the crank bolt, but that didn’t fix the issue either. I bought these dust caps on eBay, but I think they were a reproduction and not original Campagnolo parts.
So I bought another set of original Campagnolo dust caps on eBay. They fitted perfectly and were totally quiet when riding, I certainly didn’t expect this would be the cause of the noise. However I get a great sense of satisfaction solving these kinds of problems and enjoy riding a bike that is perfectly tuned and quiet on the road.
Finished Product
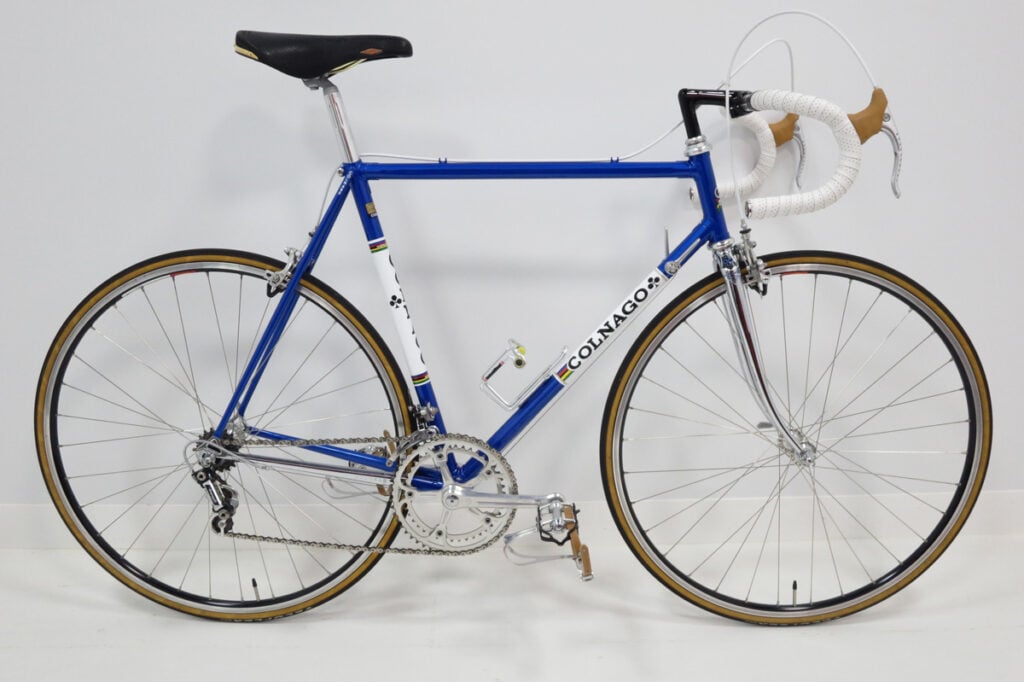
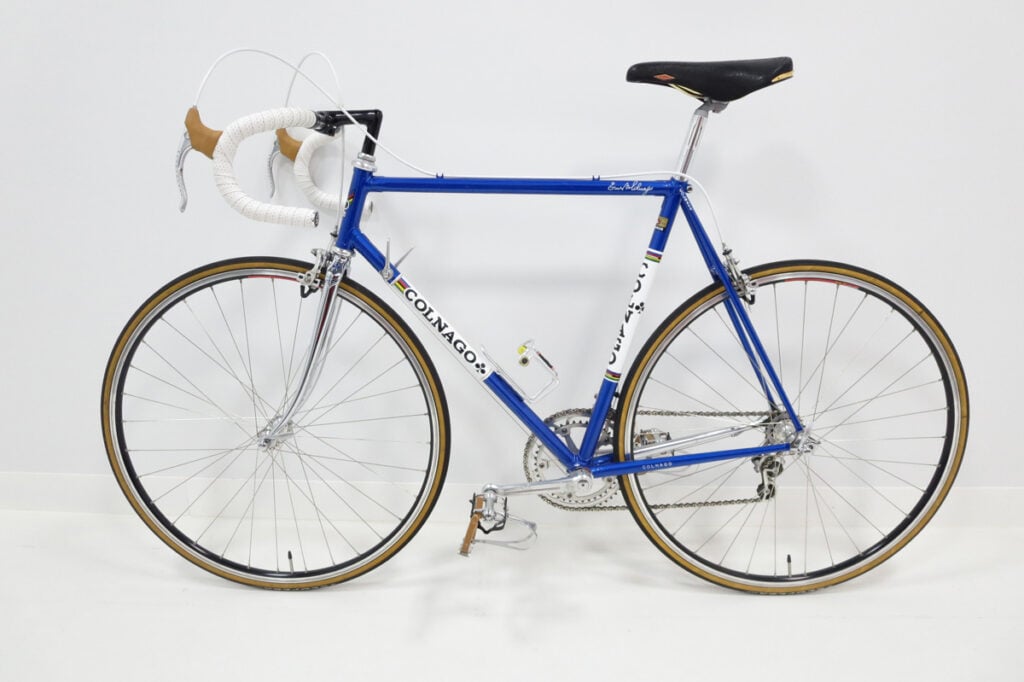
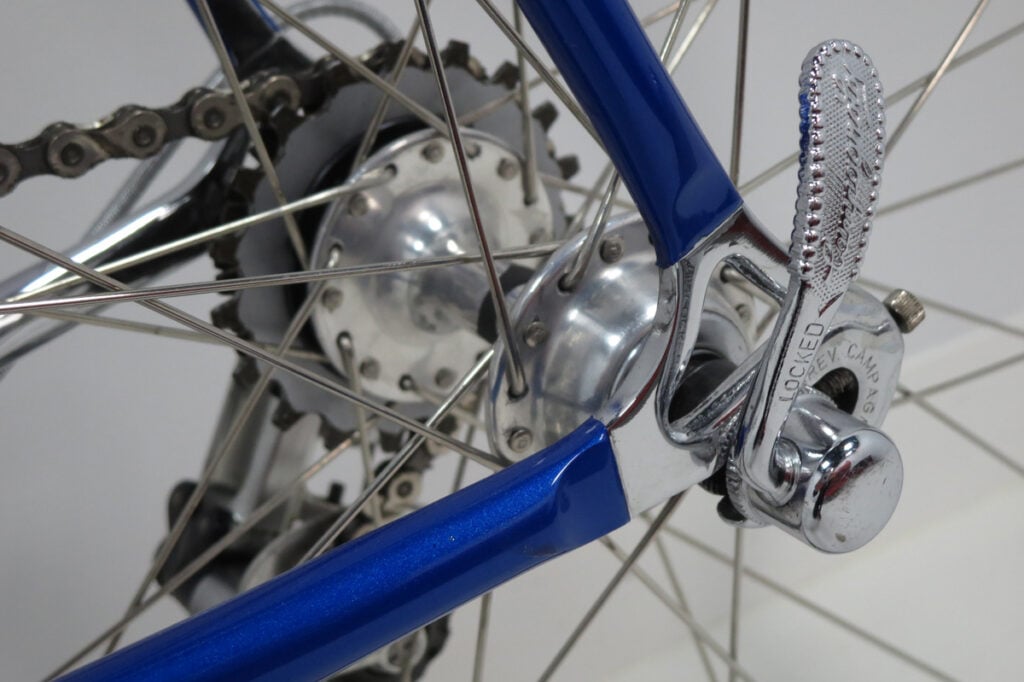
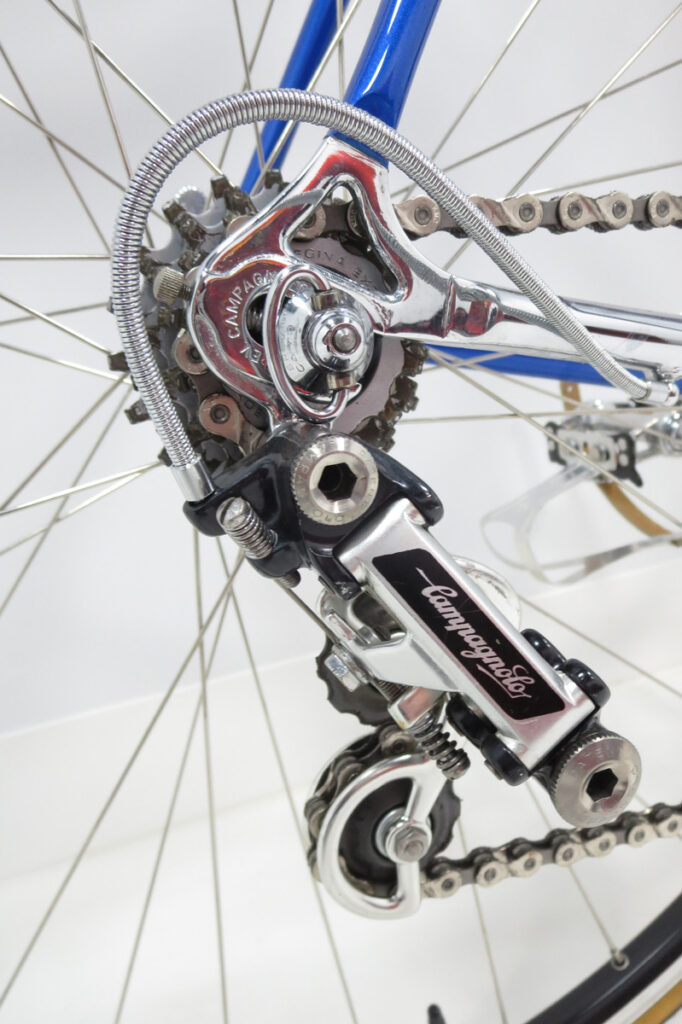
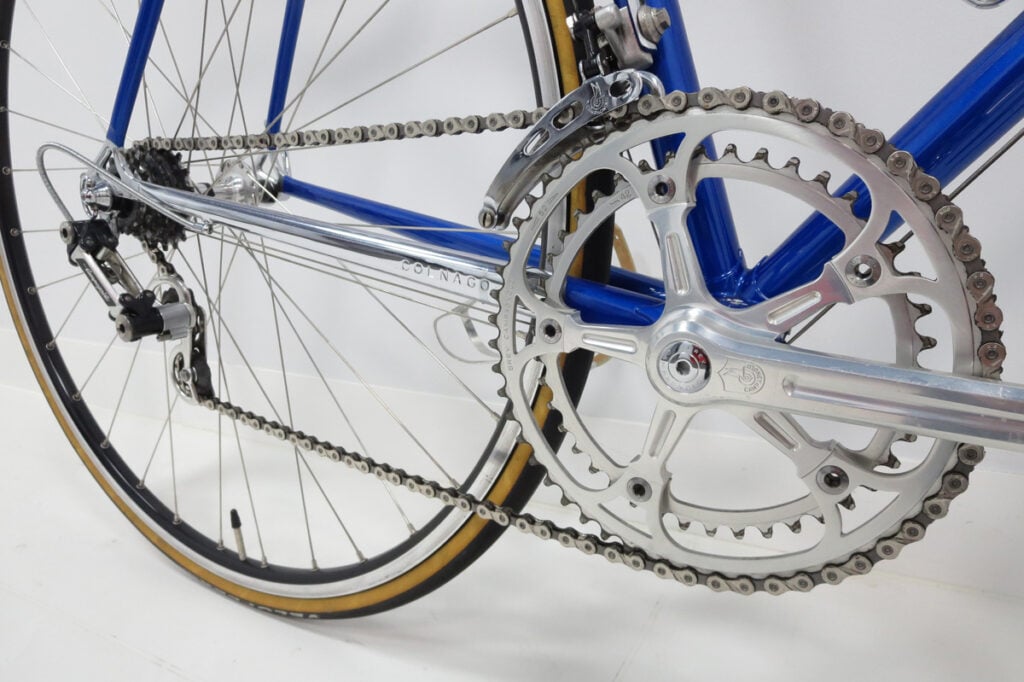
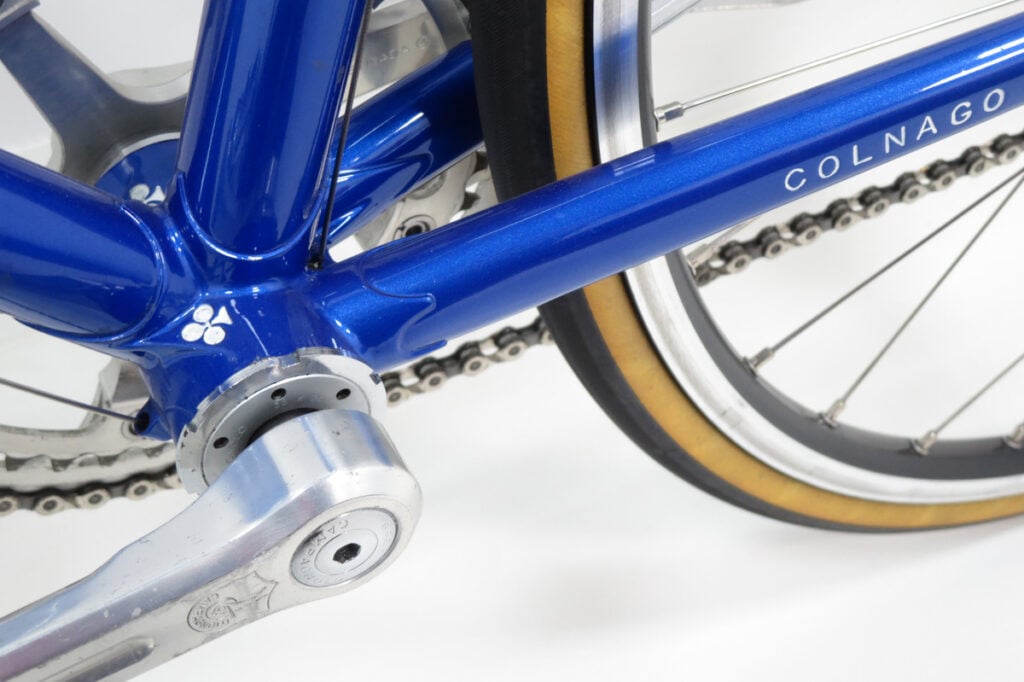
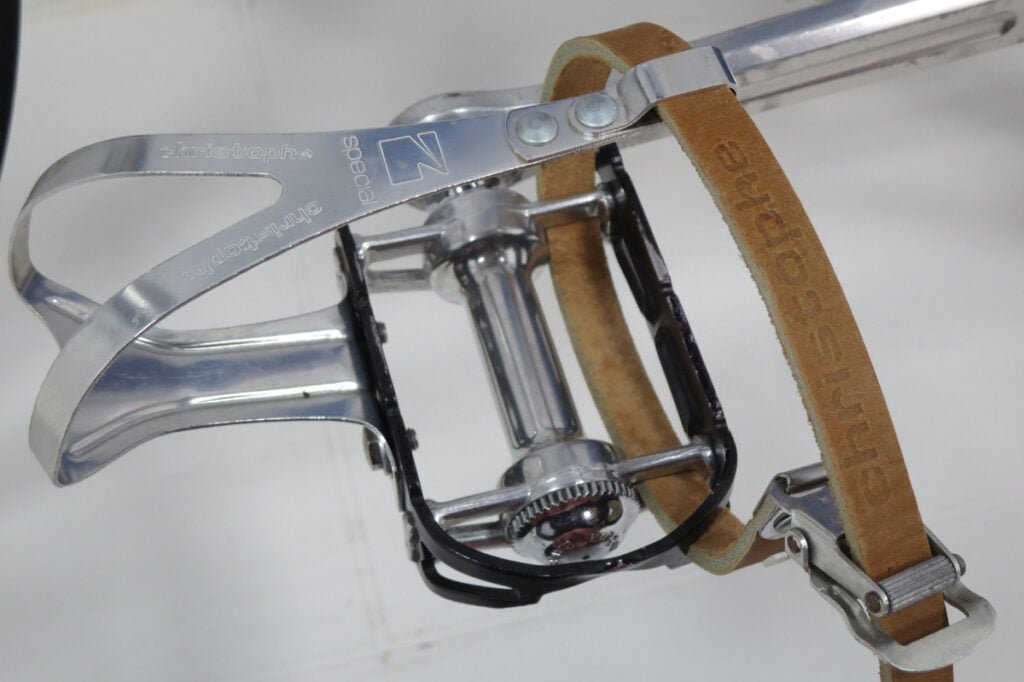
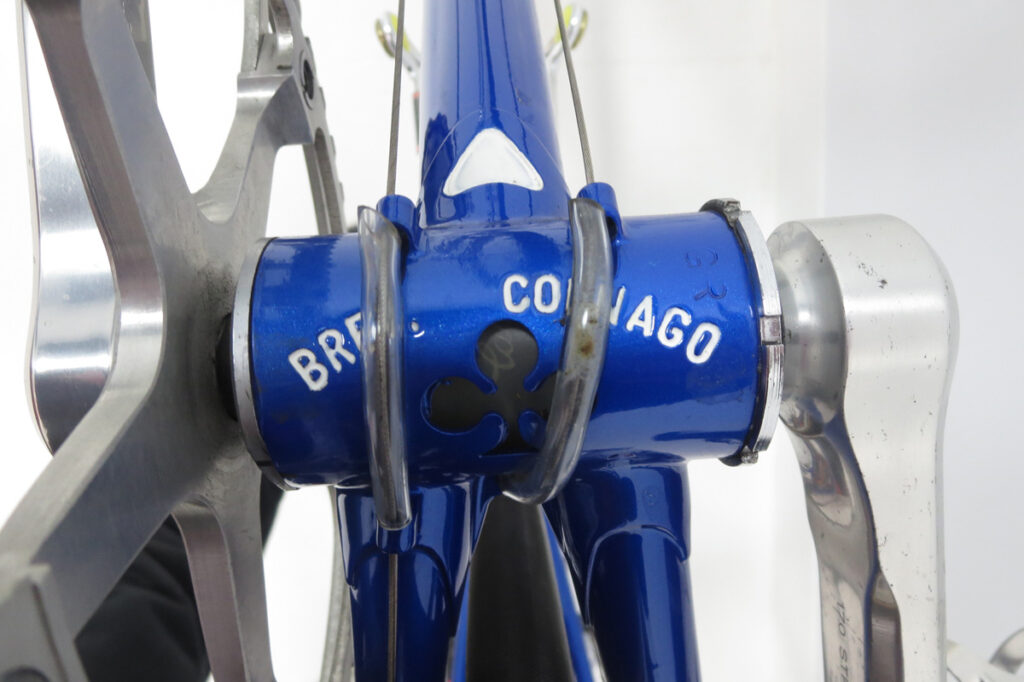
I am very happy with the finished product. Obviously the Fizik bar tape is not vintage, but it is very nice bar tape and a bit easier to keep clean compared with cotton wraps. Hopefully this article inspires others to restore a wonderful steel frame.

Disclaimer
Please remember that this information is only to be used as a guide.
I consider myself an enthusiast, not an expert. Whilst I enjoy working on my own bikes, I am not a qualified bicycle mechanic. The content of this article is purely illustrative and does not constitute professional advice. For your own safety, this type of work should only be undertaken by a qualified bicycle mechanic. Incorrect assembly of parts could result in equipment damage, personal injury or death.
About Me.
I have been riding and working on my own bikes for many years now. I wanted to share my experiences, knowledge and research with others. My aim is to inspire people to get involved in all aspects of this amazing sport. Cheers.
Comments.
I welcome reader feedback in the comments section. Should you wish to suggest an amendment, please include a note advising the source of your information so that myself and other readers can ascertain the accuracy of your information. Note: Trolling or argumentative comments will be removed as they are counter-productive.
Great article and build. I purchased a Nouvo Mexico today from a reputable dealer in Italy. I’m interested in creating a retro-modern build that I will ride often (along with 3 other modern Colnagos) and not a display bike (maybe some day) Do you have any tips for me on how to start. I realize that I will have to cold set the rear triangle to accept modern 130mm wheelset. If you have any links you can share with on where to begin that will be great.
Hi Andrew, glad to hear you enjoyed the article and congratulations on the Nuovo Mexico. Whilst I haven’t built a vintage frame with modern components, it seems quite straightforward. Here are the things to consider;
(a) As you mentioned the rear end needs to be widened from 126 mm to 130 mm, which is only a small amount and should be straightforward.
(b) You will need an Italian threaded bottom bracket designed specifically for the group set you are intending to fit eg. SRAM, Shimano or Campagnolo. Heaps of options available online. You should be able to install any modern group set (inc. 12 speed) and most modern wheels suitable for rim brakes. Keep an eye on the outer diameter of the wheels to ensure they don’t rub inside the chains stays and fork. Modern carbon wheels are getting wider outer diameters.
(c) I would expect you are planning to install a modern stem and handlebars. Modern steerer tubes are typically 1-1/8 inch diameter to suit modern stems. Your Colnago fork steerer tube should be 1 inch threaded and the headset also threaded. Luckily there are a wide variety of shims, adapters, converters available to convert an old 1 inch diameter fork steerer to a modern 1-1/8 inch diameter. Some of these options give you extra height to fit spacers under the stem, particularly useful if the original steerer tube was cut quite low. Some of these adapters allow you to install a threadless headset if you want to move away from the traditional threaded one.
(d) When using quick release skewers on steel frames with horizontal dropouts, I recommend that the knurled teeth of the skewer ie. the ends that grip the frame drop-outs are made of STEEL. This will ensure they are strong and durable enough to grip the steel dropouts. The outer parts of the skewer can be aluminium, but these inner pieces need to be steel. Use a magnet to test. This is particularly important for the rear wheel which requires the quick release to be done up more tightly than modern frames with vertical dropouts. If the rear QR is not tight, the torque generated at the cranks can pull the rear wheel out of alignment and the tyre will rub on the inside left chain stay.
Removing & installing a headset, bottom bracket etc. can require specific tools. If you don’t have these tools, a bike shop would be best to assist with this process. Once you have done it, please post a comment on how it went and how good the bike is to ride with a modern setup!
Here are some ideas;
CyclingTips article
ProBikeKit convertor
Bike24 Shim
After 8 episodes, we don’t get full photos of the completed bike? C’mon, I have to see the final results!
Sorry dc, I’ve been a bit slack, but will definately get them posted soon. Thanks for reading the article